A Consistent Remediation Process
Simplifying the Complicated
On first glance, remediating content in your course may appear to be daunting. However, a consistent approach to remediating content can help ease the process. Follow this step-by-step process as you begin the remediation process.
One Step at a Time
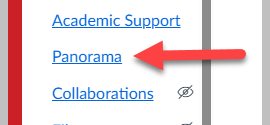
Start by enabling Panorama in your course menu. By enabling Panorama, you can access the accessibility course report by simply clicking on "Panorama" in the course navigation menu.
- In your course, click on Settings in the course navigation menu.
- Click on the Navigation tab.
- Scroll down the page and locate "Panorama." Click on the ellipsis and then select "+Enable."
- Click on the Save button.
Panorama will now be viewable in your course navigation menu.
Once enabled, click on Panorama in the course navigation menu. You will see your course's accessibility report. Scroll down the page until you get to the Files section. Look at the name and the score for each item.
After you review the itemized list of scanned files, decide whether you want to keep the file or delete it from your course. You will likely find that many of the scanned items are old files (PDFs, Word documents, PPTs, etc.) and old, out-of-date Canvas Pages that exist in your course(s) due to multiple course copies. Do not remediate old files. Focus on remediating the files necessary for the current course. If the file is old and out of date for that course, delete the file from the Files area and the Page from the Pages area.
Deleting a File from a Course
Deleting a file from a Module, Page, or Assignment does not delete the file from the course. It must be deleted from Files.
Before you delete the file from the Files area, remove the file from the stored, active location in the course. For example, if the file attached to a Module, Page, or Assignment, delete it from the Module, Page, or Assignment.
Now, go to the Files area and delete the file from Files.
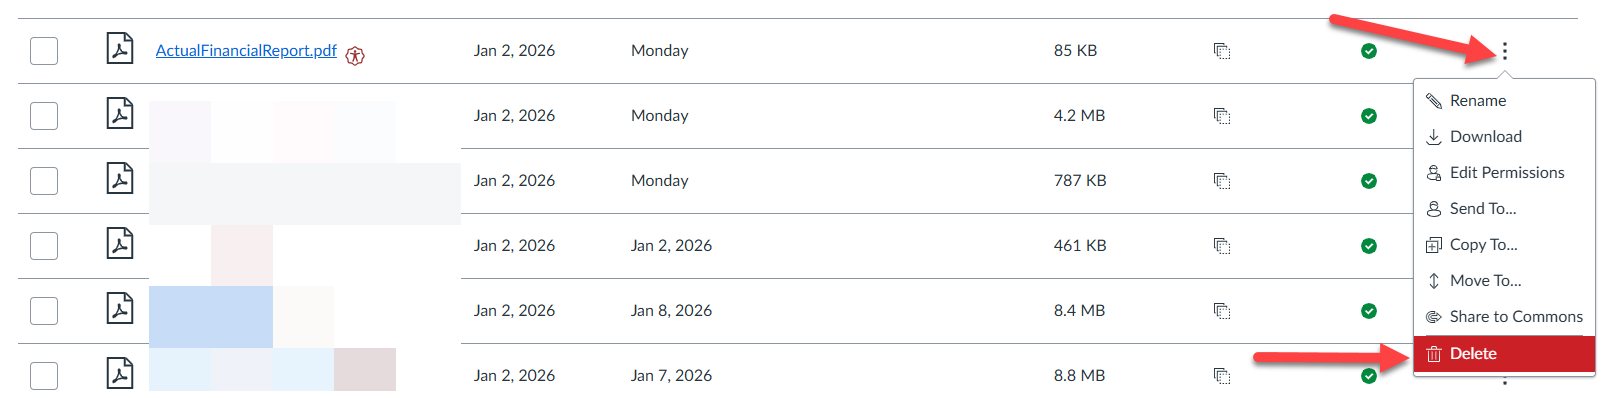
- Click on Files in the course navigation menu.
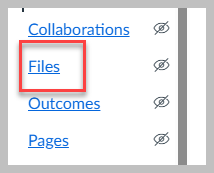
- Locate the file and click on the ellipsis. Select "Delete."
Deleting a Page from a Course
Deleting a Page from a Module does not delete the Page from the course. The Page must be deleted from Pages.
Before you delete the Page from Pages, remove the Page in the course. For example, if the Page is published in a Module, remove it from the Module. For example, if it is linked on a Page or Assignment, navigate to the Page or Assignment, and click on Edit to edit the Page or Assignment. Hover of the link with your mouse cursor, right-click with your mouse, and select Remove Link. Delete the text. Save the Page or Assignment.
Now, go to the Pages area and delete the Page from Pages.
- Click on Pages in the course navigation menu.
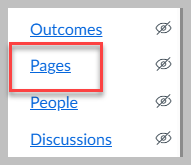
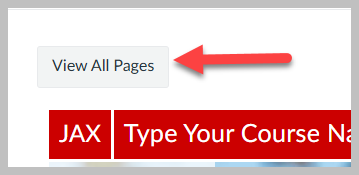
- Click on View all Pages.
- Locate the Page, click on the ellipsis, and select "Delete."

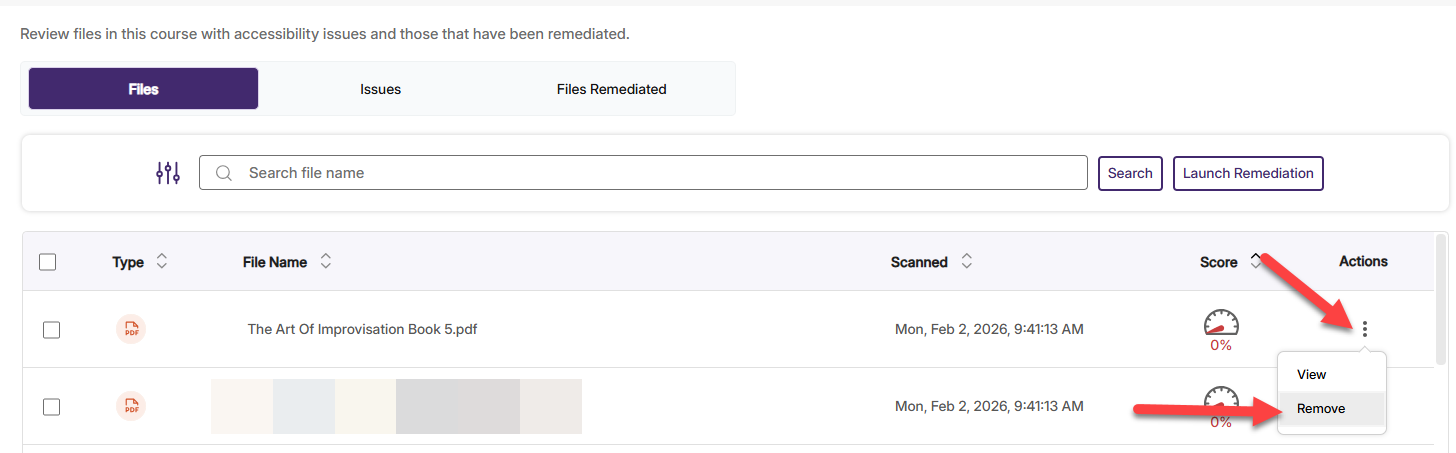
After deleting the Page or File from the course, navigate back to the course accessibility report and remove the items from the report.
- Click on Panorama in the course navigation menu.
- Scroll down the page to the Files area.
- Locate an item you deleted from the course. Click on the ellipsis beside the item, and then select "Remove."
After deleting unwanted content from your course and removing it from the course accessibility report, now begin the remediation process first. Follow these simple rules of thumb.
- Remediate items with the lowest scores first.
- Remediated items with the lowest scores (such as 0%) will have the highest impact on raising the overall course accessibility score of your course.
- Remediate items with high scores (such as 99%) last.
- High rated items (such as 99%) have the lowest impact on the course accessibility score of your course. In some cases, remediating items from 99% to 100% may not change the course’s Accessibility Score.
As you begin to remediate each item, review each PDF and ask whether it should be remediated or whether an alternative solution can be found.
Alternative Solutions
- Option 1 - Permalinks from the Houston Cole Library: If the PDF is an article, journal article, peer-reviewed article, etc., when possible, retrieve permalinks to resources from the Houston Cole Library’s electronic database and embed the permalink in your course. Avoid uploading PDFs into Canvas or sharing PDF files from OneDrive or any other cloud-based storage system. Contact the Houston Cole Library if you need assistance.
- Using this option first is recommended if the resource is available in the Houston Cole Library. This option will save time and effort.
- Replace the uploaded PDF in your course with the permalink and delete the PDF from the Files area in your Canvas course.
- Option 2 - Request Accessible File from Publisher: If the PDF is not immediately available from the Houston Cole Library via permalink, contact the publisher to request an accessible copy. Sometimes the publisher will have an a copy to provide, whether it's an article or book.
- Option 3 - Request Permission to Share Accessible Version Due to Ownership: If you purchased the item (article, book, etc.) request permission from the publisher or owner to share an accessible version of the item.
- Option 4 - Replace PDF with a Restricted, Viewable, Shareable Word Document: For course materials created by faculty that require an added layer of security, a restricted, viewable, shareable Word document could be an alternative to a PDF. Secure files come in the form of items such as course syllabi, clinical rotation schedules, course rubrics, etc.
- Steps:
- In Word, go the Review tab and select Protect > Restrict Editing.
- Check “Allow only this type of editing in the document.”
- Choose No changes (Read only) from the dropdown.
- Click Yes, Start Enforcing Protection.
- Enter a password to prevent others from removing restrictions. Click on the Ok button.
- Steps:
Leveraging alternative formats to PDFs when possible is ideal due to the propensity for PDFs to contain numerous accessibility issues, coupled with the difficulty in remediating them and the time constraints associated with remediation.
Tips for Creating Accessible Word Documents
- As you create Word documents, make sure that you use Word's features to create accessible content.
- For example, use Heading styles to create a heading structure. Always give your document a Heading 1.
- Use Word's Accessibility Checker to review content as you work. It will flag any issues and provide guidance in how to remediate it.
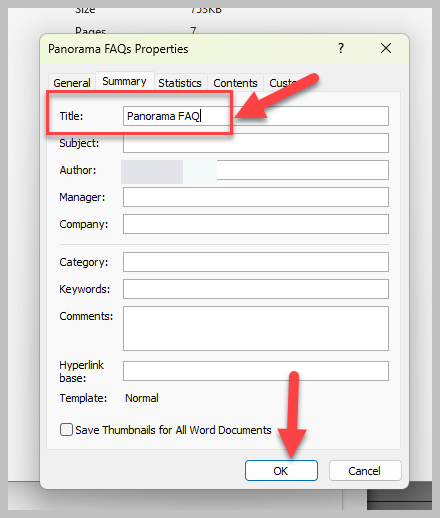
- Give your Word document a property title.
- In a Word document, click on File > Info. Click on Properties > Advanced Properties
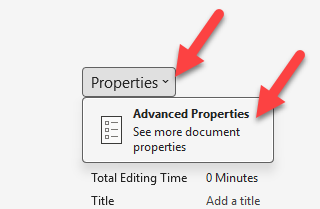
- Enter a document title in the Title box and click on the Ok button.
If choosing to remediate a PDF, you can opt to remediate the PDF in Panorama or with another software such as Adobe Acrobat Pro.
YuJa Panorama DocHub
This section references DocHUB, so let's review it before we discuss remediating PDFs in Panorama. DocHub allows users to upload, scan, remediate, and store files in the Panorama Cloud. Every Panorama user at Jacksonville State University has a DocHub. To access the DocHub, go to a course in Canvas and click Panorama in the course navigation menu.
Scroll over the top icon of the vertical menu on the left side of the report. The menu will expand. Click on DocHub.
![]()
As you remediate content, open DocHub in a separate tab or browser window. You may need to use it during remediation.
Let's move next to remediating PDFs in Panorama.
Remediating PDFs in Panorama
Panorama will interpet PDFs in one of three ways:
- tagged,
- untagged, or
- scanned.
Tagged PDFs
Tagged PDFs are tagged properly but may have issues. Some common issues include:
- The document heading structure does not start at 1 (Header 1).
- The document's heading structure is not properly nested.
- The document does not have any headings.
- Table does not have a header.
- The title is missing from the document’s properties.
There may be more issues detected as well. In this situation, you have three options:
- OCR Formats > OCR Overlaid PDF
- OCR Formats > OCR Reconstructed PDF
- OCR Formats > OCR HTML
Generate one for each and then download the new versions. Upload them into your DocHub and view them again. One of them may be easier to remediate than the other. Choose the easiest one to remediate, remediate it, and replace the original version in your course with the remediated version.
OCR HTML documents will likely change the look, the formatting, of the document but remediating it may be easier. Review the OCR HTML for formatting changes. This may be a good option for you if the changes are not too significant and do not disrupt the intent of the content.
Untagged PDFs
An untagged PDF in Panorama will be read as "0%." When you view it, it will say "The PDF is untagged."
At this point, you have one option:
- OCR Formats > OCR Overlaid PDF
Generate the OCR Overlaid PDF and upload into your DocHub and view it again. The PDF will now be a tagged PDF, but there may still be issues to remediate. Remediate this document, or generate an OCR HTML version of the new, Overlaid PDF and review it. Choose the easiest one to remediate, remediate it, and replace the original version in your course with the remediated version. If you select the OCR HTML version, you will need to delete the original PDF file from your course and replace it with the OCR HTML version.
Scanned PDFs
A Scanned PDF in Panorama will be read as "0%." When you view it, it will say "The PDF is scanned."
At this point, you have one option:
- OCR Formats > OCR Reconstructed PDF
Generate the OCR Reconstructed PDF and upload into your DocHub and view it again. The PDF will now be a reconstructed, tagged PDF, but there may still be issues to remediate. Remediate this document, or generate an OCR HTML version of the new, Reconstructed PDF and review it. Choose the easiest one to remediate, remediate it, and replace the original version in your course with the remediated version. If you select the OCR HTML version, you will need to delete the original PDF file from your course and replace it with the OCR HTML version.
Remediating PDFs using Adobe Acrobat Pro
Most faculty at Jacksonville State University do not have an Adobe Acrobat Pro license. However, if you decide to remediate PDFs using Adobe Acrobat Pro, you will need to contact Information Tehnology to inquire about aquiring a license for your JSU-issued device.
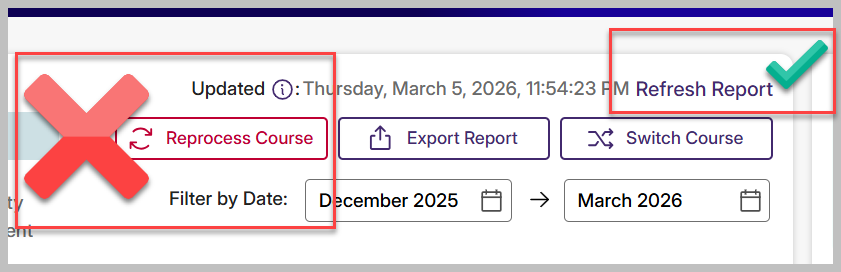
At this point, you have deleted and removed unwanted files and Pages from your course, and you have remediated several items. Now, you can refresh your Course Accessibility Report to improve your Course Accessibility Score.
- Click on Panorama in the course navigation menu.
- At the top of the Page, click on "Refresh Report."

Refresh Report will update your Course Accessibility Score with the most recent score for your course. Please be judicious in pressing the Refresh Report button as it may not appear as an option again until 24 hours after you have selected.
A misleading option appears on the Course Accessibility Report called "Reprocess Course." Do not select "Reprocess Course!" This option remove all remediated files, alternative formats, and accessibility reports of the selected course from Panorama. It will essentially set your course back to it's original score and negate all remediation you have accomplished in the course.